
One brand, from unboxing to the shop floor
Choose brand packaging, retail presentation or a coordinated set. Each direction has its own material, structural and sampling requirements, connected by a shared brand identity.
- Brand packaging: boxes, bags, labels and inserts, with considered materials, refined finishes and collection themes.
- Retail displays: counter stands, presentation units, fixtures and graphics designed around the product and selling space.
- Shared coordination: align colors, materials, artwork and delivery while approving packaging protection and display stability separately.
Packaging that expresses your brand
Build a recognizable identity across retail, gifting and online orders. From an independent label to a coordinated collection, the box, bag and small printed details should feel like one brand.
- Paper and board: folding cartons, rigid boxes, sleeves, shopping bags and printed inserts.
- Protection and fit: corrugated shippers, molded-pulp components, dividers and fitted inserts.
- Flexible and reusable formats: pouches, textile bags and other material options matched to use.
- Brand details: labels, tags, instructions, seals, ribbons and coordinated presentation sets.
From material selection to a complete packaging system
Packaging combines several specialist processes. Linking them early helps align the visual design with structure, print behavior and packing requirements.
- Substrates and structure: compare paper, board, films, textiles and cushioning against dimensions, protection and appearance.
- Artwork and conversion: coordinate dielines, printing, cutting, folding and assembly around a shared approved reference.
- Finishing and brand details: evaluate coatings, embossing, foils and closures together with the chosen material.
- Packing and consolidation: connect packaging supply with the product manufacturer, packer and shipping schedule.
Turn a personal vision into a complete brand presentation
Start with your audience, brand story, visual references and target price. We help connect packaging structure, color, typography and tactile details into a coherent direction, then coordinate samples with suitable design and manufacturing partners.
- Build a coordinated set: product box, shopping bag, tissue, label, thank-you card and protective insert.
- Carry a collection theme across different sizes and products without making every pack identical.
- Keep approved artwork, color references and material samples consistent across production and reorders.
Environmental choices, built into the packaging
Reduce unnecessary layers and size the pack around the product. Explore material options that retain a refined appearance while addressing waste, reuse and end-of-life handling.
- Compare recycled-content paper and board, paper inserts and molded pulp where they provide suitable protection.
- Consider reusable boxes or textile bags when customers have a practical reason to keep them.
- Review simpler material combinations and separable components; finishes, adhesives and coatings affect how the complete pack can be recovered.
- Confirm supplier evidence and destination recycling options before using environmental claims on your packaging.
A premium feel comes from considered details
A refined pack does not need excessive layers or heavy decoration. Proportion, paper texture, accurate color and a well-fitted opening can create a quiet, distinctive impression.
- Compare textured papers, restrained print coverage, embossing or debossing through physical samples.
- Use foil, coatings and closures selectively, considering both the desired finish and material recovery.
- Review clean edges, folds, lid fit, insert alignment and the way the customer reveals the product.
- Coordinate theme colors, logo placement and a personal message across the complete packaging set.
Choose a structure before choosing a finish
Start with what the pack must hold, how it opens and how it travels. The structure sets the working dimensions for artwork and inserts. A flat drawing and an assembled sample answer different questions.
- Folding cartons: review crease positions, closures and the assembly sequence; approve the artwork against the final dieline.
- Rigid presentation boxes: check board, covering material, lid fit and insert clearance with the actual product.
- Corrugated mailers: define the complete packed contents, closure and protection for the intended delivery route.
- Bags and sleeves: review handles, seams, product access and the finish where surfaces touch or rub.
Know what each packaging proof confirms
Approve structure and print as separate decisions when needed. A screen preview confirms layout but cannot show the finished paper, ink or surface treatment. Keep a clear record of what each approval covers.
- Unprinted structural sample: confirm fit, opening, insert support and packing effort.
- Print or finish proof: review color, registration, text, barcodes and the chosen treatment on the intended material.
- Complete packed sample: confirm the product, inner protection and outer carton together before the agreed production release.

Define the dimensions and artwork
Useful starting information includes a reference, the product size and estimated quantity. Identify which details are fixed and where you want options.
- Brand name, audience, collection theme, visual references and target packaging budget.
- Product dimensions, weight and any fragile surfaces or components.
- Material, structure, closure, inserts and protection needed.
- Artwork status, print areas, colors and finish references.
- Assembly method, packing destination and storage or handling needs.
Compare the complete packaging proposal
Review material and print options alongside sample costs, packed dimensions and assembly requirements. A smaller or cheaper box may change protection or presentation. If a material or environmental claim matters, identify the evidence needed for review rather than relying on a label alone.
- Separate paper or board specification, print, finishing, tooling and assembly costs.
- Compare packed dimensions and gross weight as well as the unit price.
- Confirm print-proof approval, barcode information and artwork ownership.
- Request evidence for material or environmental claims you plan to make.
Approve a reference before production
Agree how the sample will be checked for fit, appearance, assembly and protection. Record accepted artwork and dimensions, requested changes and the version production should follow. Testing or specialist checks require a separate agreed scope when needed.
Connect the packaging and packing teams
An agreed handoff can include the approved sample reference, artwork version, packing instructions and carton details. Confirm who supplies the packaging, who packs the goods and who approves changes. These proposed records should match the project scope.
Common packaging questions
The right answer depends on your product and the complete packing method.
- Can packaging be sourced separately? Yes, specify which supplier will receive it and who will pack the goods.
- Can a box be made smaller? Review product fit, protection and assembly before changing the approved dimensions.
- Can the material be described as recyclable? Check the actual material combination and destination context before making the claim.
Display formats across the retail journey
The right display depends on the product, store setting and how it will be replenished or moved. These formats can be combined into a coordinated presentation.
- Countertop presentation: holders, risers, trays and small product displays.
- Freestanding and wall formats: racks, shelving, display stands and fixtures.
- Promotional units: temporary displays, event presentation and campaign-specific structures.
- Brand details: signage, printed graphics, lighting elements and packaging or sample presentation.
Combine structural and visual production resources
Retail display work often brings several processes into the same unit. Linking structural fabrication with graphics and assembly creates more ways to meet the store brief.
- Materials: compare metal, wood, panels, acrylic, glass and paper-based construction.
- Fabrication: coordinate cutting, forming, welding, machining and joins according to the selected design.
- Brand presentation: connect printing, finishes, signage and optional electrical elements to the structure.
- Rollout preparation: coordinate assembly, store kits, packing instructions and shipment grouping.
Turn one display concept into a repeatable range
We help keep the design reference consistent across sizes, store formats and production partners.
- Compare permanent and temporary construction routes around actual use.
- Use samples to resolve loading, access, replenishment and assembly details.
- Organize variants and store-level packing lists for subsequent rollouts.
Match the display format to the selling space
A countertop stand, a freestanding fixture and a wall display serve different purposes. Start with the actual products and the way shoppers and staff reach them, then choose the material and construction.
- Countertop displays: define the footprint, product capacity, branding area and whether the stand needs frequent repositioning.
- Freestanding fixtures: review the product arrangement, stability, replenishment access and movement through the store.
- Wall or shelf systems: provide the available space and mounting conditions for assessment by the responsible installer.
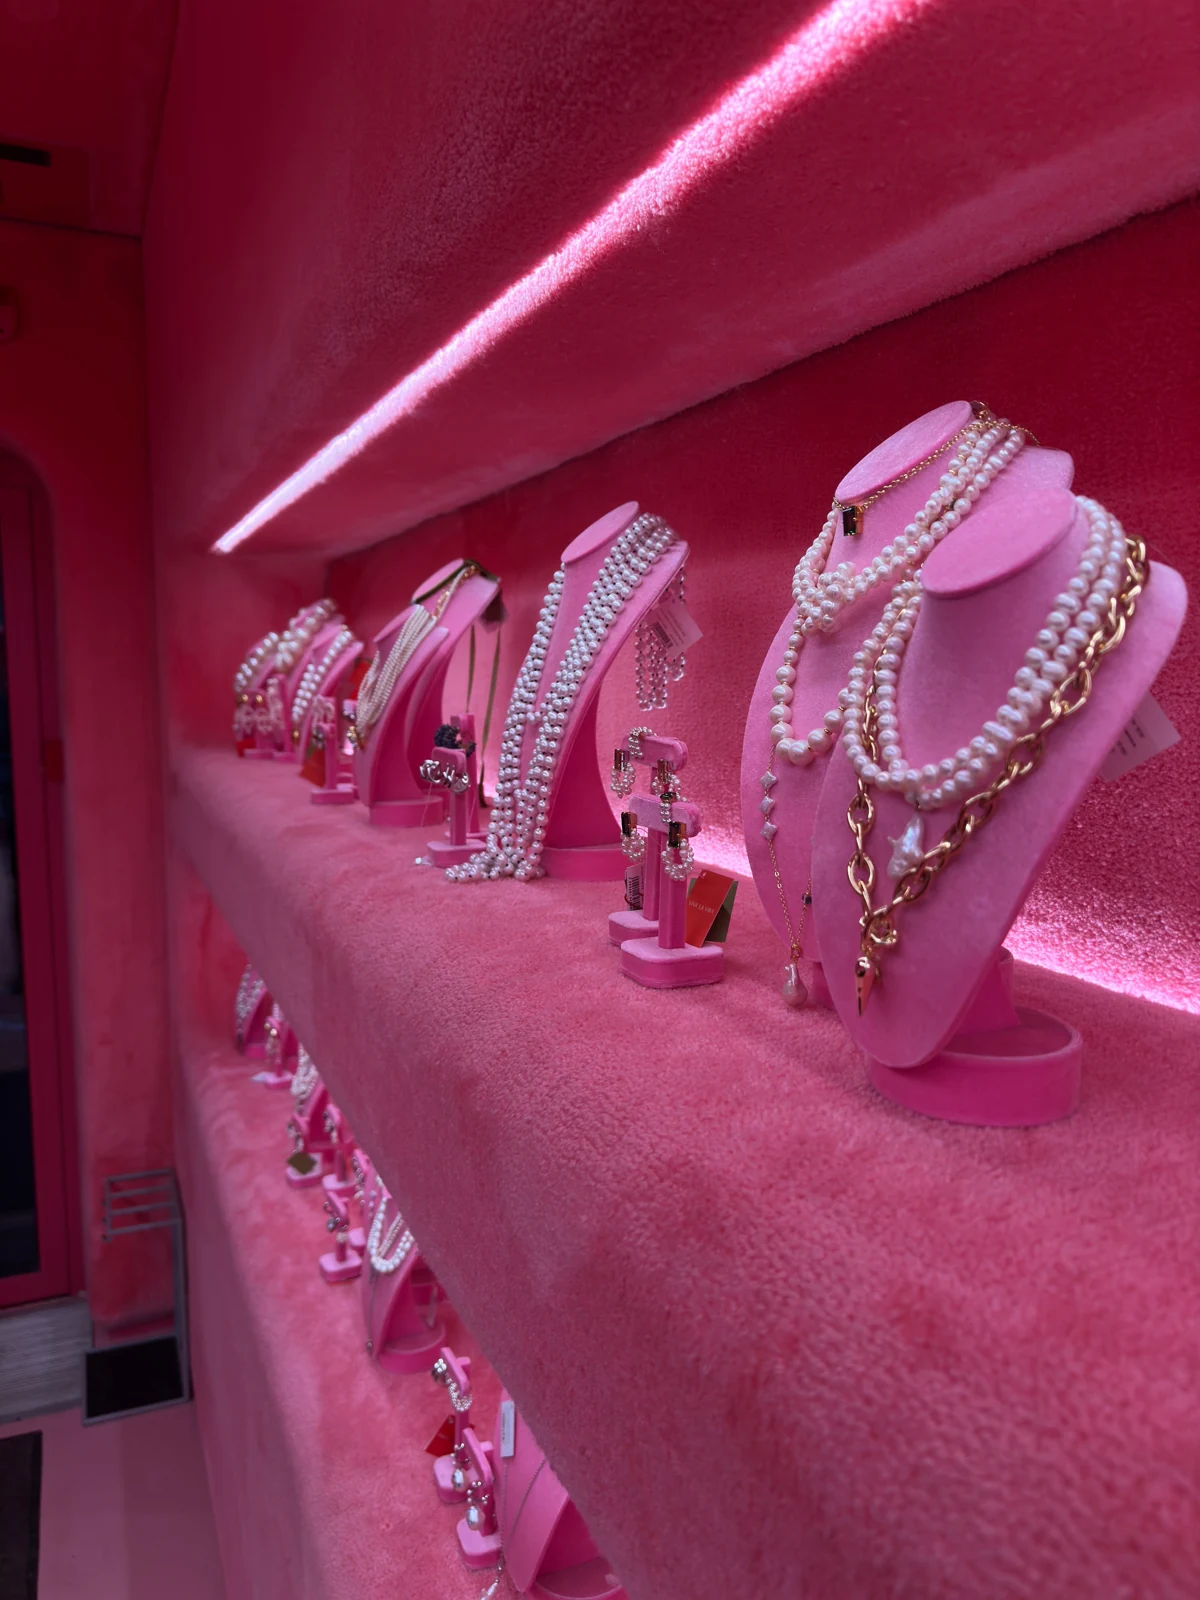
- Jewelry presentation: compare pads, busts, trays and holders against the size and finish of the pieces being shown.
Plan a repeatable store rollout
For several locations, a clear fixture schedule and assembly reference can reduce confusion between the supplier, logistics team and store staff. Agree the actual rollout support in the project scope.
- Give each fixture a code and list quantities by store, finish and product arrangement.
- Review one assembled reference with the products in place, then record approved changes.
- Include a parts list, fitting bags, installation information and a process for reporting missing or damaged items.
Make size, support and use clear
A sketch, photo or reference is useful even before a finished drawing is available. Mark the dimensions that cannot change.
- Product dimensions, weight, number of items and support needs.
- Display footprint, height, material, finish and branding.
- Assembly, installation or attachment requirements.
- Quantity, destination, cleaning needs and expected handling.
Compare appearance and practical use
Review structure, finish, sample options and the proposed assembly method. Consider access for loading products, edges and connections, stability and how the display will be moved. Structural or specialist assessment must be assigned to an appropriate provider where required.
Use the sample to resolve details
Compare the sample with the agreed dimensions, display arrangement and finish reference. Record assembly questions, requested changes and approved details before production. Confirm whether the customer needs a physical sample, photographs or other evidence for the decision.
Plan how the display will arrive
Compare assembled and flat-pack options together with protective packaging, freight volume and assembly effort at destination. Proposed project records may include a sample approval reference, assembly instructions and packing requirements; agree the actual outputs and responsible parties before work starts.